Overview
This article will guide you through using the Host Dashboard to manage toll information efficiently.
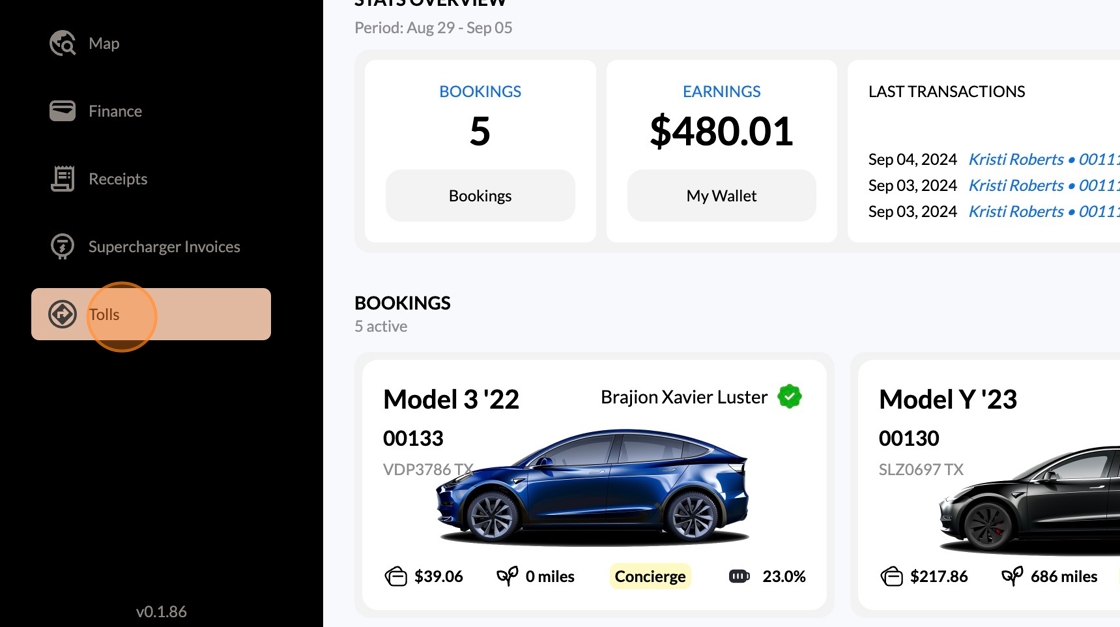
Accessing Tolls Information
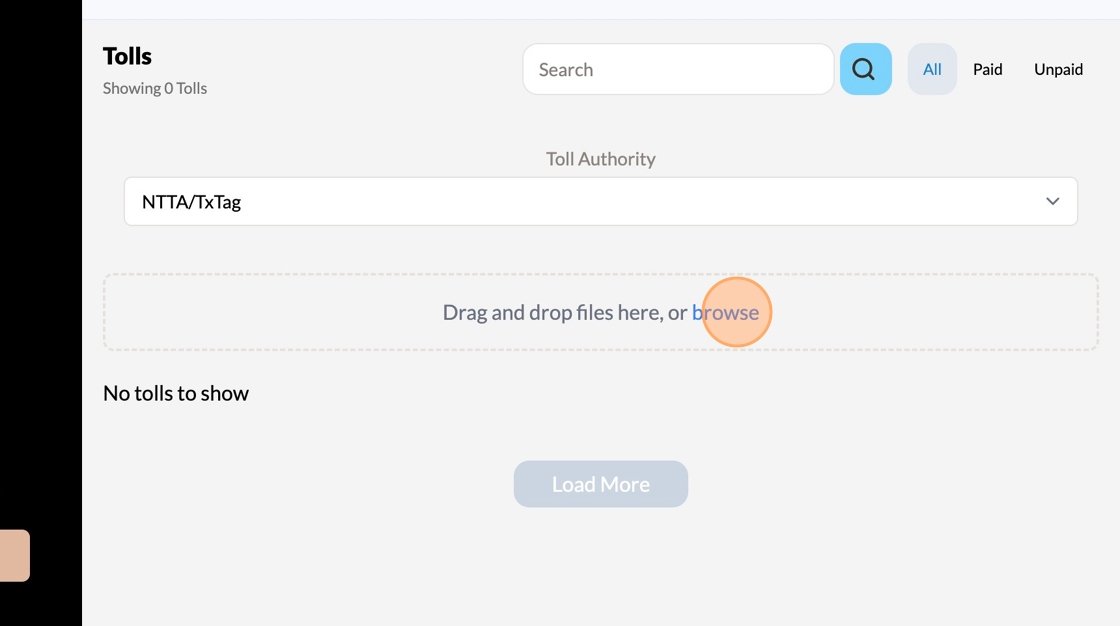
1. Login: Log into the Host Dashboard with your credentials. 2. Navigation: From the side menu, select the "Tolls" section. 3. View Tolls: You will see toll information specific to the Toll Authorities we work with: ◦ NTTA (North Texas Toll Authority) ◦ FasTrak, which manages California tolls. 4. Select Authority: Use the drop-down menu to choose the Toll Authority. Only tolls for the selected authority will be displayed.
Uploading New Tolls
- For NTTA: Login Here
- Go to “My Account” at the top and select “Transaction History”
- On the right-hand side you will select the Microsoft Excel Logo
1. Download Export File: Obtain the export file from the appropriate Toll Authority's system. These files are typically in .xlsx or .csv format.
2. Select Authority: Ensure the correct Toll Authority is selected in the dashboard before uploading the file.
3. Upload File: Follow the prompts to upload your export file.
◦ The system will automatically handle duplicates to prevent multiple charges for the same toll.
4. Notification: After processing, you will receive a success or failure notification.
Troubleshooting Upload Issues
- 100% Failure: If your toll export fails completely:
1. Take a screenshot of the toll upload error response. 2. Send the screenshot and the export file to support for assistance.
Key Connections
- License Plate and Toll Tag ID: These are crucial for accurate toll processing. Ensure they are correct and up-to-date in the Vehicle page.
Common Issues:
- Incorrect/Missing Information: Incorrect or missing License Plate or Toll Tag ID on the vehicle page is a common reason for upload failures. Verify these details if you encounter issues.
For further assistance, contact support with detailed information about your issue.
How To Upload Your Tolls Visual Guide
1. Navigate to https://host.zevo.com/
2. Click "Tolls"
3. Click "Toll Authority" dropdown to find your agency

4. Click "browse" to upload your toll [[.xlsx]] or [[.csv]] file
Once you’ve uploaded your tolls - our system will assign and process each toll within 24hrs.