This comprehensive guide will walk you through all the adjustable vehicle settings available on our platform. Whether you're looking to update your vehicle's price, manage toll tags, or modify license plate details, you'll find all the information you need right here.
💡 For a written guide click here!
1. Navigate to https://host.zevo.com/vehicles
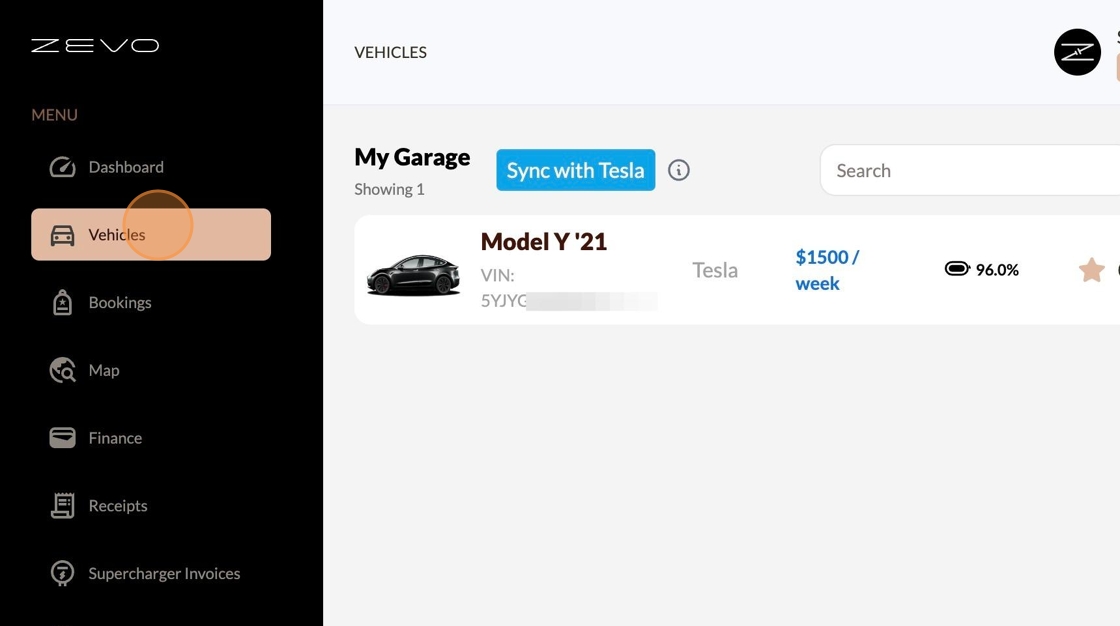
2. Click "Vehicles"
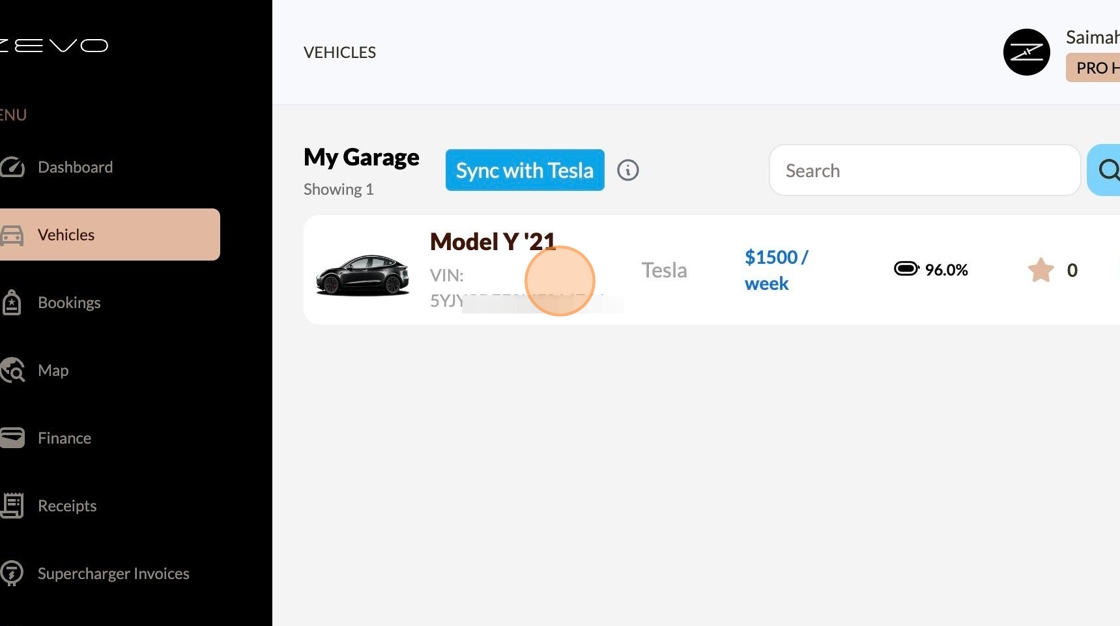
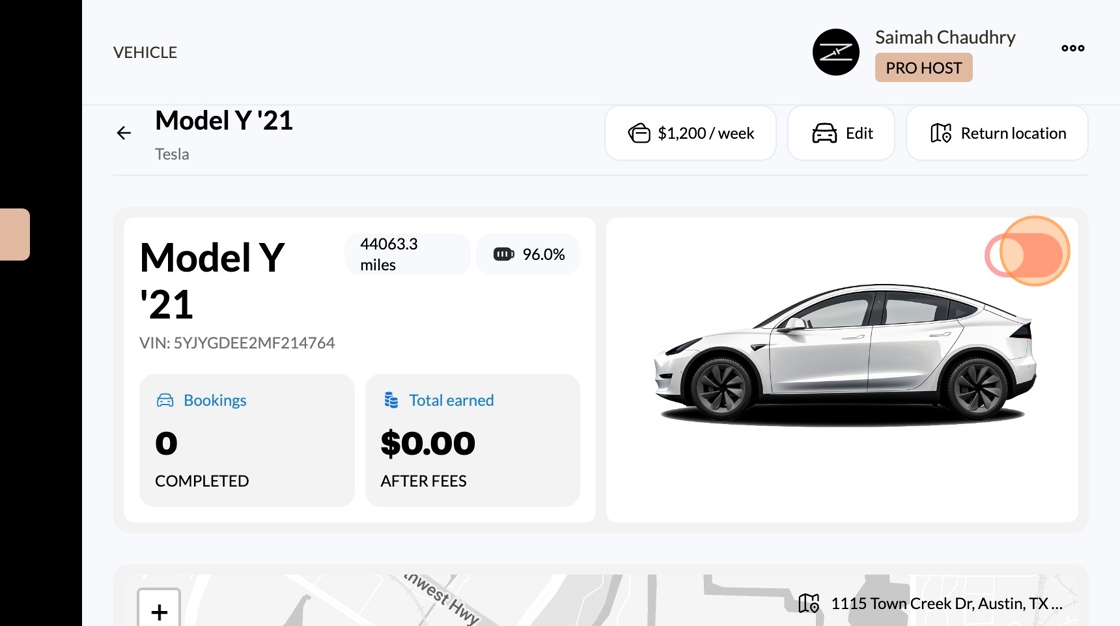
3. Click On the Vehicle You Would Like To Modify
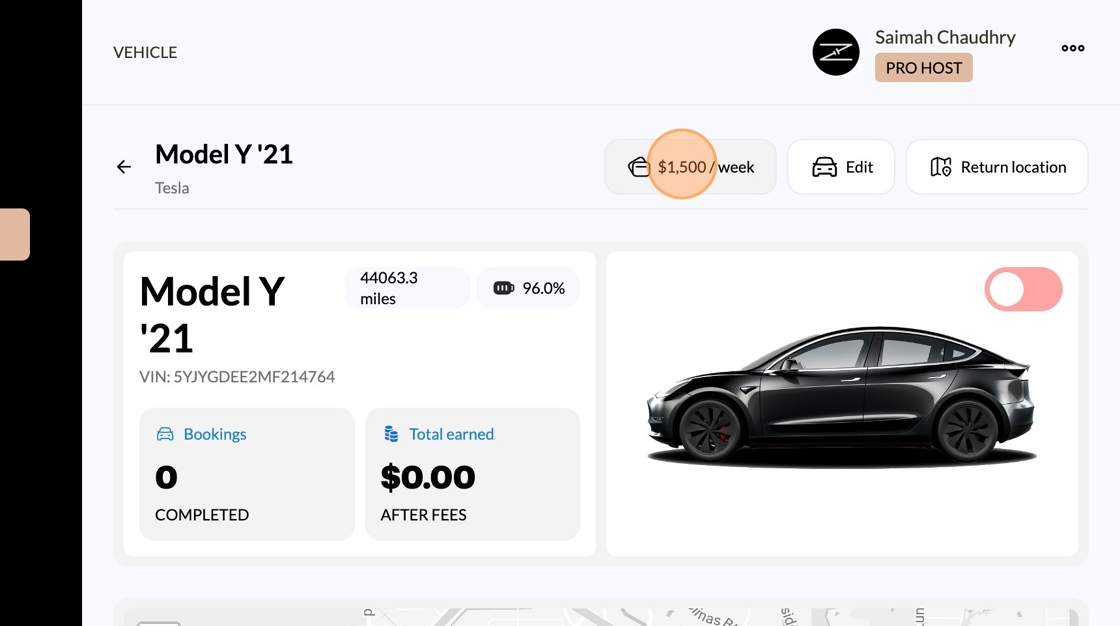
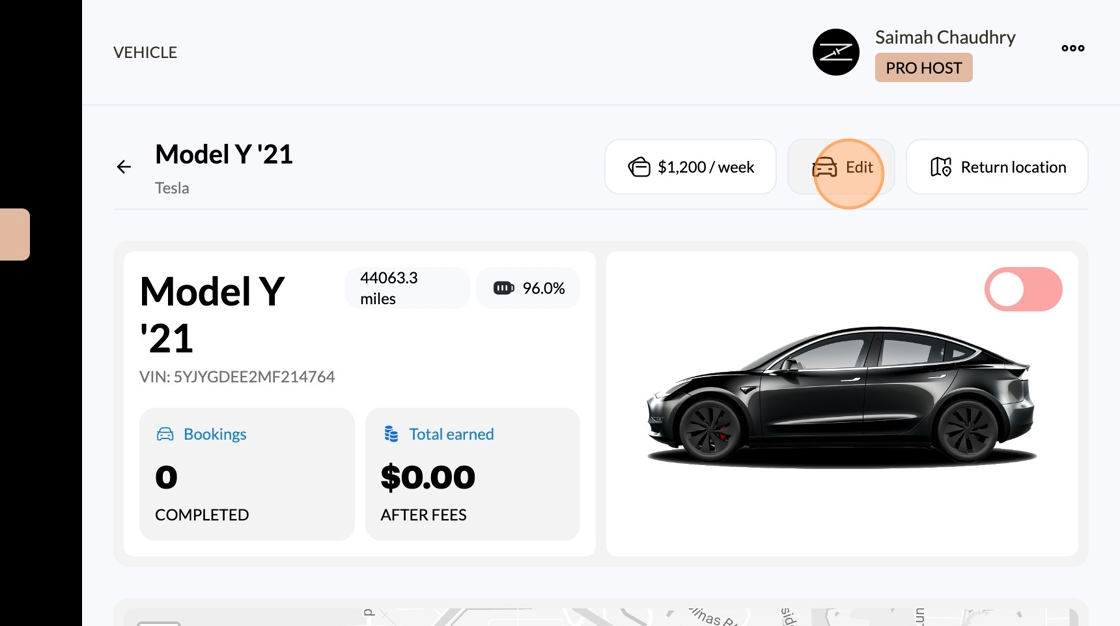
4. Select The Price Setting To Set Your Weekly Rate
5. Click "Edit" to Change Price
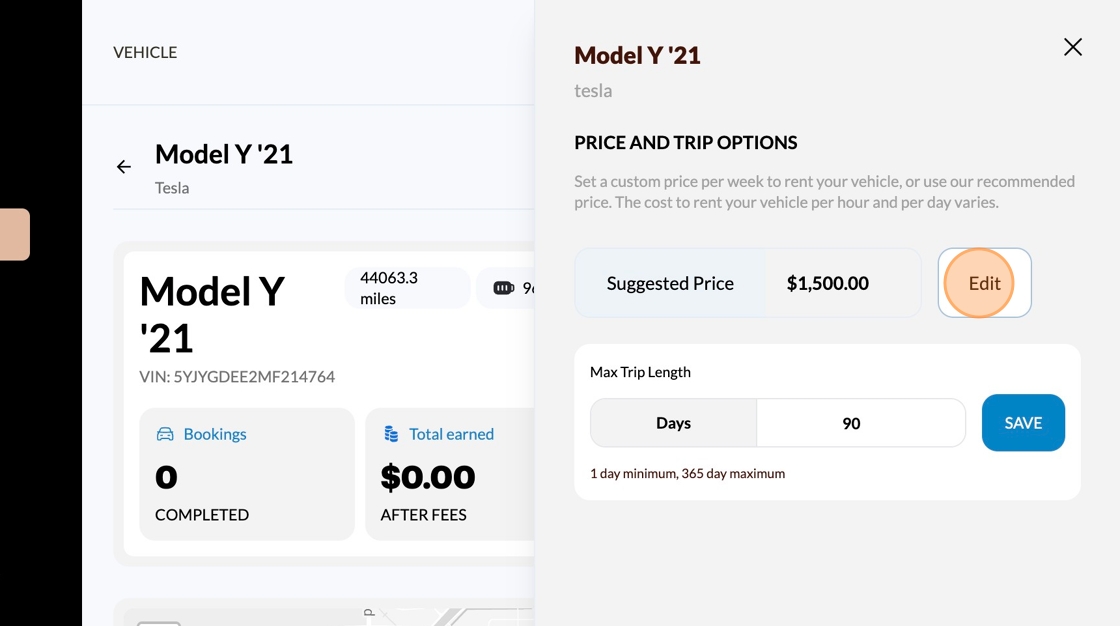
6. Adjust Maximum Trip Length To Your Comfort
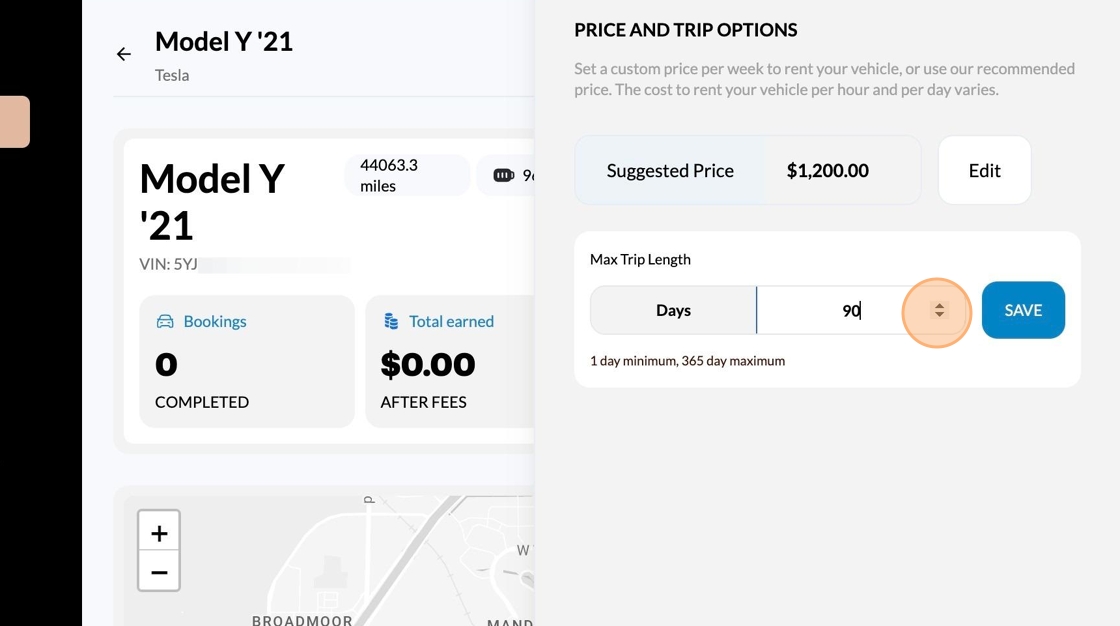
💡 Many of our renters are looking for long term use so we encourage allowing as much time as possible for the trip length!
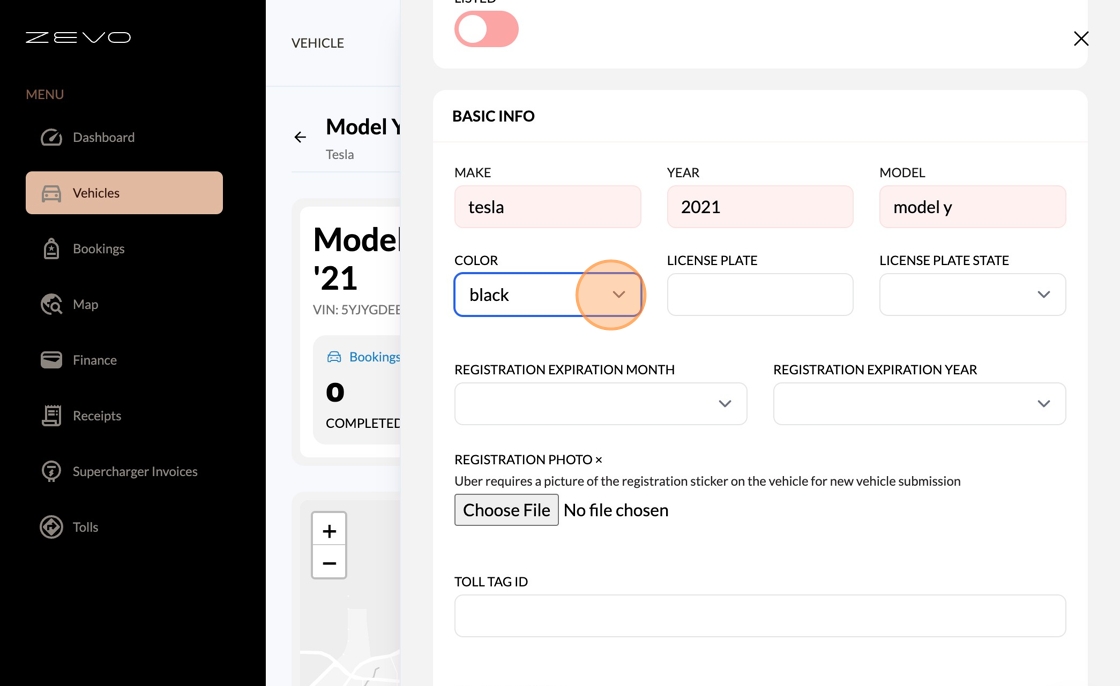
7. Click "Edit" To Review and Update Vehicle Details
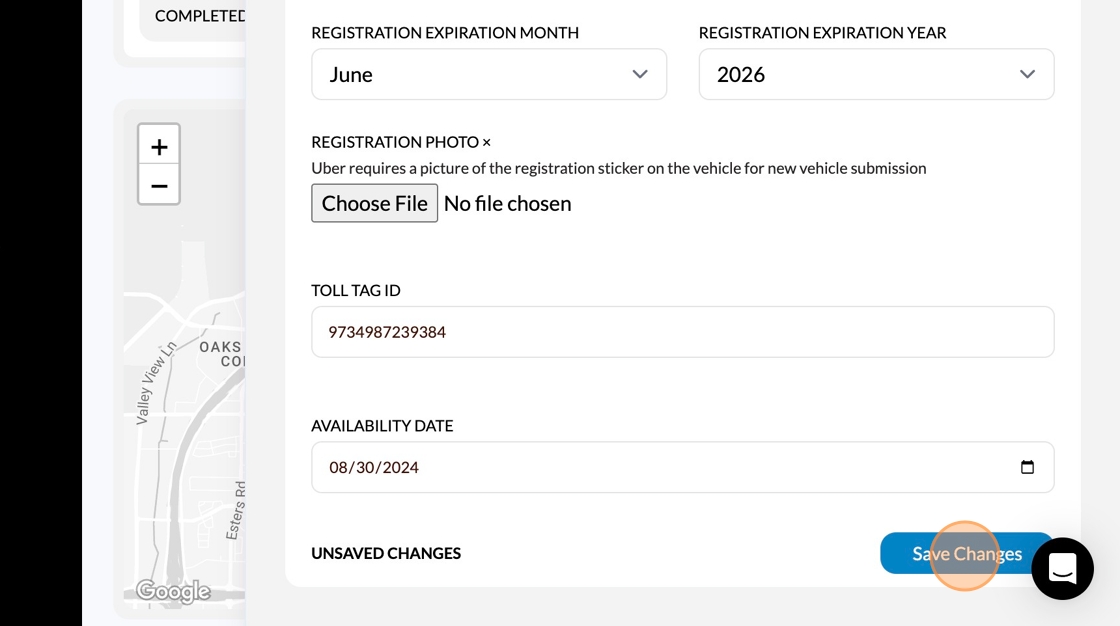
8. Be sure to adjust and fill out all of the fields on this page
9. Once You've Completed Filling In the Fields Click "Save Changes"
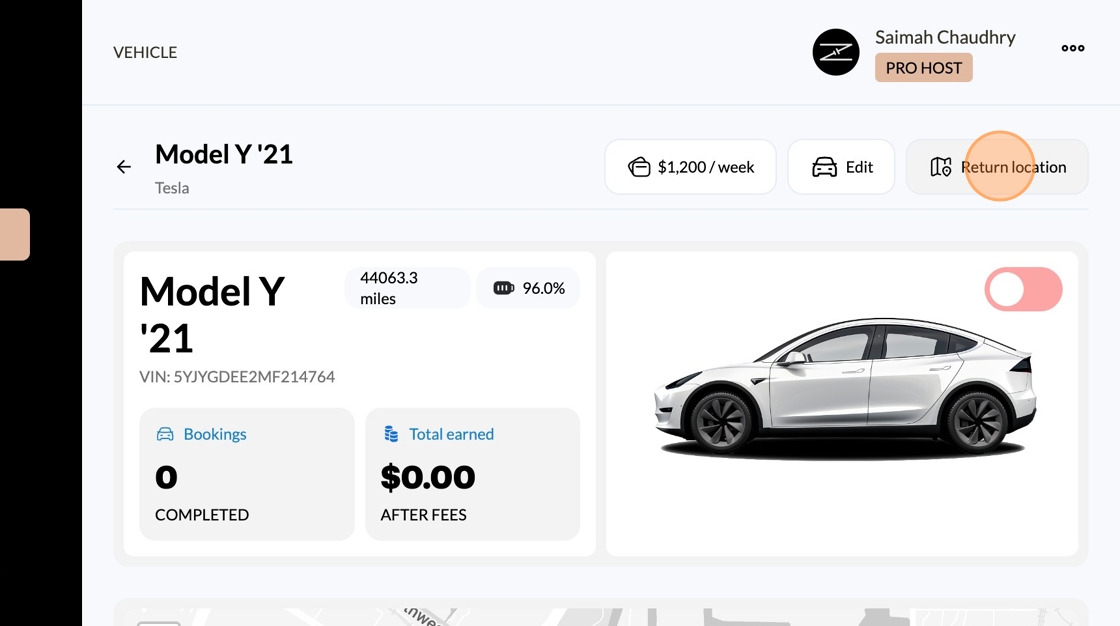
10. Next Let's Set Your Vehicles Location
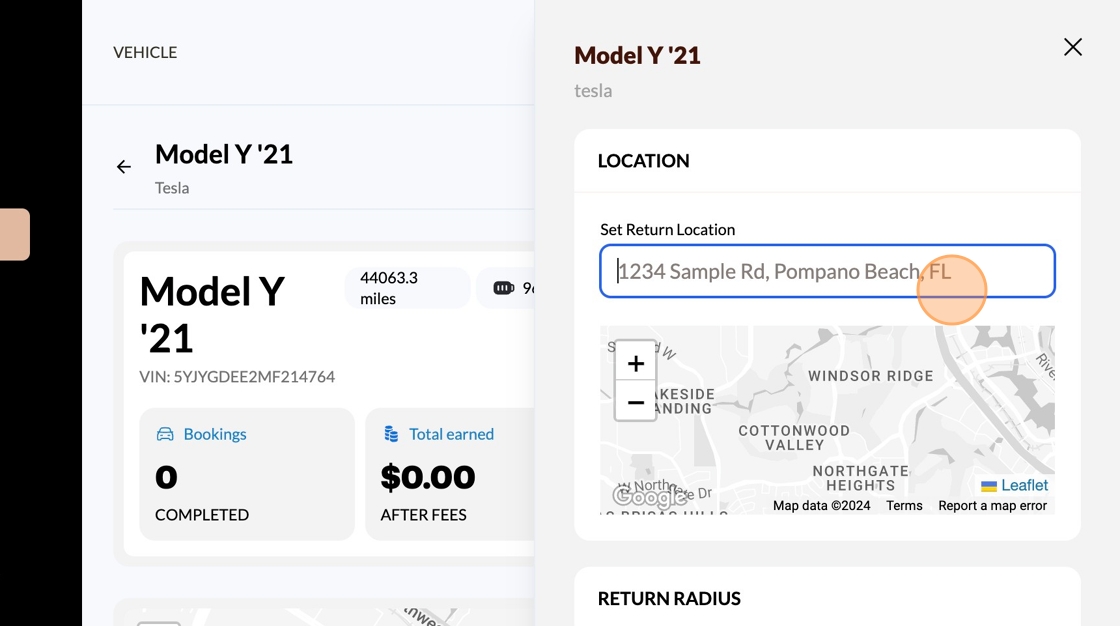
11. Input Your Pick/Drop Off Location Address
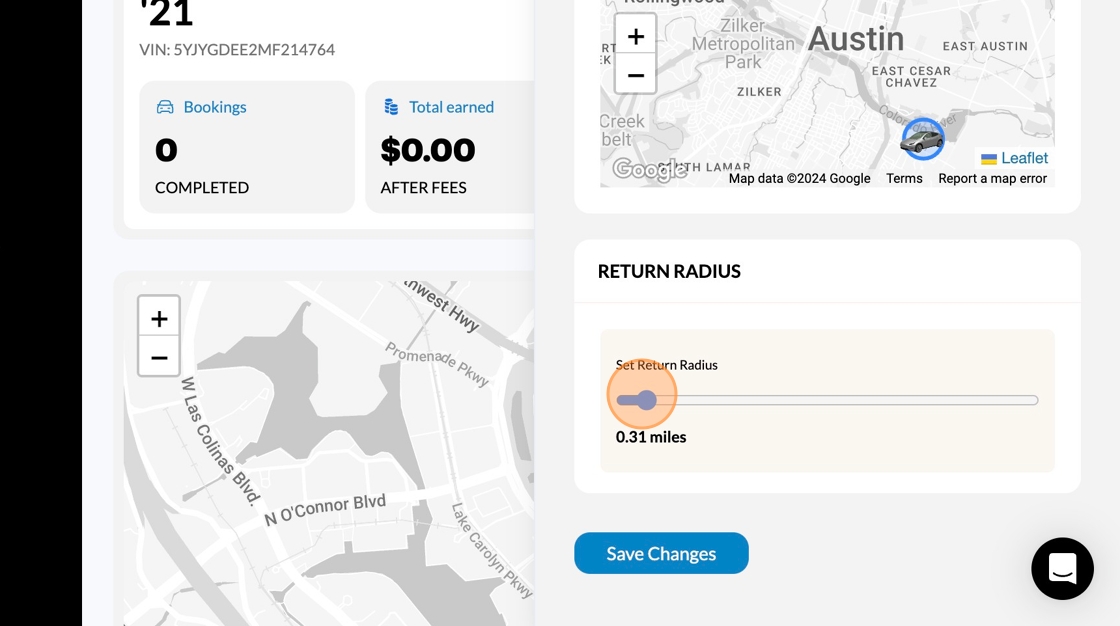
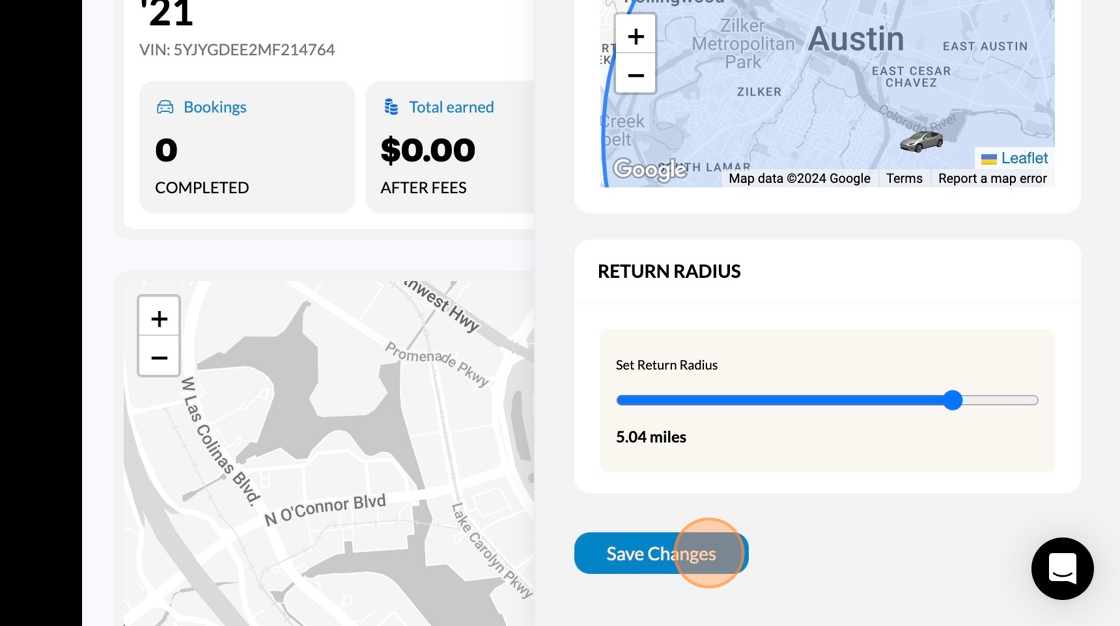
12. Adjust Your Return Radius Field By Sliding the Bar
13. Click "Save Changes"
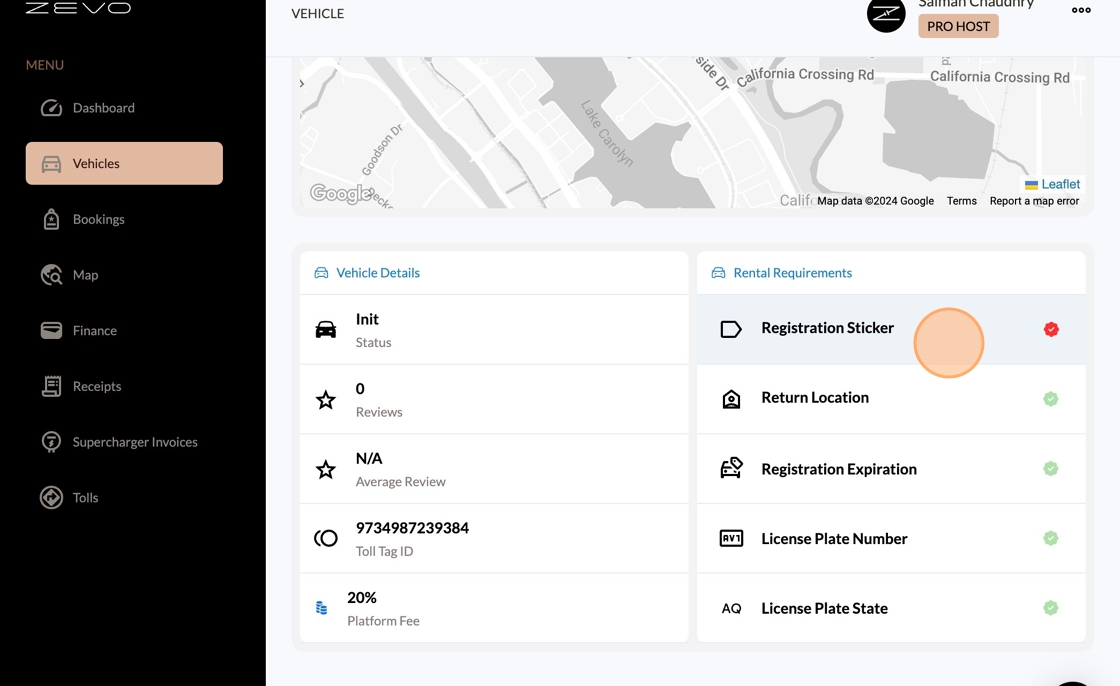
14. If Anything is Missing It Will Be Indicated By A Red Checkmark
15. Finally, Toggle Your Vehicle To The Active Position So It's Ready To Hit the Road! The moment your listing is live it can be instantly booked at anytime!
🏎 Adding Cars to Your Garage
To ensure your vehicle is ready for its first renter, there are a few essential steps you need to take. All vehicle management tasks can be performed through the Host Dashboard at host.zevo.com. Navigate to the Vehicles section to see your cars, and click into each one to edit them. Follow the steps below to get started:
Step 1: Update Vehicle Basics
1. License Plate Number: Ensure the correct license plate number is entered. 2. Vehicle Color: Update the color of the vehicle. 3. Vehicle Registration Photo: Upload an up-to-date photo of the vehicle's registration. 4. Toll Tag ID: Is there a registered toll tag device on the car? Add the ID here so we can better track the tolls to your booking.
These updates can be made directly in the Host Dashboard.
Step 2: Set the Vehicle's Location
Your vehicle should be easily accessible to drivers. If you’re working directly with ZEVO and using our concierge service in Austin, we will manage the address updates for you. Otherwise, you need to:
1. Enter Pickup and Drop-off Address: Specify the address where drivers can pick up and return the car. 2. Return Radius: How close can a user drop-off the vehicle from the return location?
Step 3: Set the Weekly Vehicle Price
Pricing your vehicle appropriately is crucial for attracting renters. Consider the following:
1. Year, Make, and Model: The value of your vehicle varies based on these factors. 2. Full Self-Driving Capability: If your vehicle has this feature, it can affect the rental price.
You have the flexibility to negotiate the price with your renter and adjust it as needed during their use of the vehicle.
By following these steps, you can ensure your vehicle is ready for its first renter and set up for success on the ZEVO platform. For any further assistance, please refer to the Host Dashboard or contact ZEVO support.
Step 4: Mark Vehicle as Listed
You should see a toggle on the main page of your vehicle that will either be grey and turned off, or green and turned on. Make sure it is in the green on position to be listed. Once your vehicle is listed then renters will be able to see it on the Vehicles Listing page on the app and mobile site web.zevo.com.